The quality of a paint job depends heavily on what happens before the first coat. Clean surfaces, careful patching, protected floors, and a clear work area make painting easier and reduce the chances of peeling, rough spots, or accidental splashes.
Preparation also helps you work faster once the paint is open. Instead of stopping to move furniture or search for a tool, you can focus on a consistent application.
Clear the room as much as practical
Remove small furniture, wall decor, curtains, and fragile items. Move large furniture toward the center only if it can be protected safely and does not block your working path. Keep exits and walking routes clear.
Protect floors and fixed surfaces
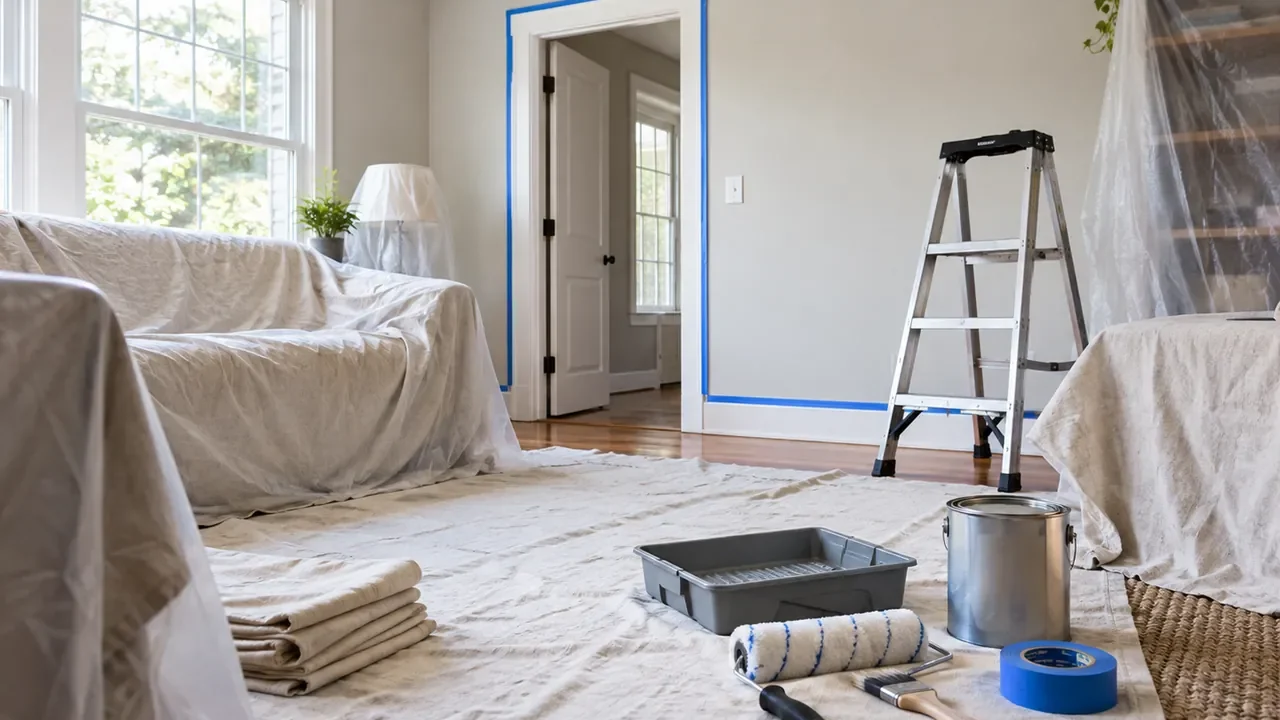
Use appropriate drop cloths or protective coverings and secure them so they do not become a trip hazard. Cover countertops, built-ins, and fixtures that cannot be moved. Plastic can be useful for furniture, while floors often benefit from a less slippery protective material.
Clean walls before repairs
Dust walls, corners, trim, and baseboards. Kitchens and high-touch areas may need a suitable degreasing cleaner, followed by enough drying time. Paint adheres better to a clean surface than to dust, oil, or residue.
Patch small holes and defects
Fill nail holes and minor surface damage with a product intended for the wall material. Let it dry fully, sand as needed, and wipe away sanding dust. Larger cracks, recurring damage, or signs of moisture should be investigated rather than simply covered.
Check for old or unsafe coatings before aggressive sanding
Older buildings may contain lead-based paint or other materials that require special handling. If the age or coating history creates a concern, use appropriate testing and follow local rules rather than dry-sanding or disturbing the surface casually.
Mask only where it helps
Painter’s tape can protect trim, hardware, and clean edges, but it works best on clean, dry, sound surfaces. Press the edge firmly, avoid stretching the tape, and remove it at the time recommended by the tape and paint manufacturers.
Prime when the surface calls for it
Primer can help over repairs, stains, bare material, major color changes, or surfaces specified by the paint system. Use a compatible primer rather than assuming one product works for every surface.
Plan ventilation and drying time
Read the paint label for ventilation, temperature, humidity, recoat time, and cleanup instructions. Arrange airflow without blowing dust onto wet paint, and keep children and pets away from the work area until it is safe.
Stage tools before opening paint
Have brushes, rollers, trays, extension poles, rags, a step platform if needed, and cleanup supplies ready. Stir paint as directed and keep the lid area clean so dried material does not fall back into the can.
Quick checklist
- Remove wall decor and small furniture.
- Protect floors and fixed surfaces.
- Clean and fully dry walls before painting.
- Patch and sand only after checking the surface is safe to disturb.
- Use compatible primer where needed.
- Follow paint instructions for ventilation and recoat time.
Common questions
Do I need to wash every wall before painting?
Walls should be free from dust, grease, and other contamination. A lightly used bedroom may need only dust removal, while kitchens and high-touch walls may require more cleaning. Follow the paint manufacturer’s preparation instructions.
Can paint hide wall damage?
Paint may change the color of a defect but usually does not correct texture, loose material, moisture damage, or recurring cracks. Repair the underlying problem before painting when possible.
Know the limit of a weekend DIY job
A small project should stay small. If the work exposes wiring, plumbing, suspected hazardous materials, structural components, or damage that keeps returning, pause before covering it with a cosmetic repair. Local codes, permits, and manufacturer instructions may also affect what can safely be done by a homeowner.
Protect finished surfaces, use tools for their intended purpose, and plan cleanup before starting. A project that can be completed neatly and safely is usually a better result than pushing ahead simply because the materials have already been purchased.
Bottom line
A smooth paint job starts with a room that is clean, protected, repaired, and organized. Spend the extra time before opening the can: clear the space, fix minor defects correctly, and follow the coating instructions. Good preparation is usually faster than trying to repair drips, rough patches, and adhesion problems after the paint has dried.