Caulk is used to close selected joints against air, water, or movement, but it is not a universal filler. A neat repair begins by understanding why the joint exists and choosing a product designed for the location and materials.
Small cosmetic and weather-sealing joints are often manageable for a careful homeowner. Recurring cracks, active water intrusion, large movement, or gaps related to structure should be evaluated before they are covered.
Identify what the joint needs to do
Bathroom joints need moisture-resistant products, exterior joints need weather-rated products, and paintable trim joints may need a different formulation. Read the label for compatible materials, movement capability, cure time, and paintability.
Remove failed material instead of covering it
New caulk generally performs best on a clean, sound surface. Cut or scrape away loose and poorly bonded material using tools suited to the surface. Work carefully around soft finishes, tile edges, and plastic components.
Clean and dry the joint thoroughly
Dust, soap film, grease, and moisture can interfere with adhesion. Use a compatible cleaning method, remove residue, and allow the joint to dry fully before applying new material.
Do not seal designed drainage openings
Windows, doors, siding systems, and fixtures may contain weep holes or drainage paths. Closing them can trap water. If you are unsure whether a gap is intentional, check the product or manufacturer documentation before caulking.
Cut the nozzle conservatively
A smaller opening gives more control and reduces waste. Cut the nozzle at an angle if appropriate for the joint and puncture any inner seal according to the tube instructions. You can always enlarge the opening if needed.
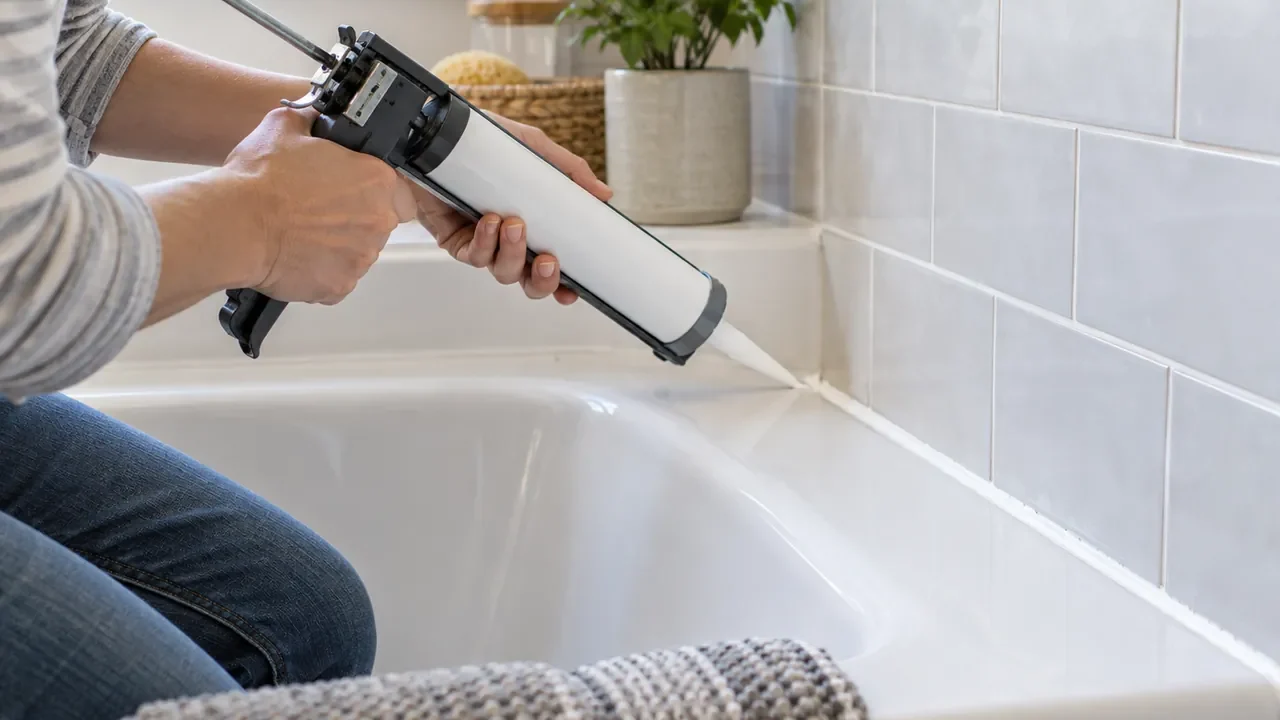
Apply one steady bead
Hold the nozzle at a consistent angle and move at a speed that fills the joint without piling excess material on the surface. Stop and restart at natural corners when possible rather than repeatedly touching the bead.
Tool the joint at the right time
Some products should be smoothed immediately while others have specific tooling guidance. Use the recommended method and avoid excessive water or chemicals unless the manufacturer permits them. A controlled pass is usually cleaner than repeated wiping.
Respect cure time
A bead that looks dry on the surface may not be fully cured. Keep showers, rain, cleaning, painting, or heavy movement away from the joint for the time stated on the product label.
Watch for recurring failure
If the same joint repeatedly opens, becomes wet from behind, or develops staining, the problem may be movement, drainage, or a hidden leak rather than the caulk itself. Repair the cause before applying another layer.
Quick checklist
- Choose a caulk rated for the exact location and materials.
- Remove loose old caulk and residue.
- Let the joint dry completely.
- Keep weep holes and drainage paths open.
- Apply a controlled bead and follow cure instructions.
- Investigate recurring cracks or moisture instead of repeatedly covering them.
Common questions
Can I apply new caulk over old caulk?
It is usually better to remove loose, dirty, mold-stained, or poorly bonded old material so the new bead can adhere to a clean joint. Some products have specific overcoating instructions, so check the label.
Why does bathroom caulk keep separating?
Common causes can include movement, wet or contaminated surfaces during application, an incompatible product, or water getting behind the joint. Repeated failure is a reason to inspect the surrounding area rather than simply adding more caulk.
Know the limit of a weekend DIY job
A small project should stay small. If the work exposes wiring, plumbing, suspected hazardous materials, structural components, or damage that keeps returning, pause before covering it with a cosmetic repair. Local codes, permits, and manufacturer instructions may also affect what can safely be done by a homeowner.
Protect finished surfaces, use tools for their intended purpose, and plan cleanup before starting. A project that can be completed neatly and safely is usually a better result than pushing ahead simply because the materials have already been purchased.
Bottom line
Re-caulking is mostly a preparation job. Use the correct product, remove failed material, clean and dry the surfaces, and protect intentional drainage openings. If a gap keeps returning or moisture is coming from behind the joint, pause the cosmetic repair and find the underlying cause.