A kitchen deep clean becomes overwhelming when every cabinet, appliance, and surface is opened at the same time. Breaking the work into stages keeps the kitchen usable and lets you stop after any completed section.
Start with the products and tools you already know are safe for your surfaces. Stone, stainless steel, painted cabinets, wood, glass cooktops, and specialty finishes can all require different methods.
Stage 1: remove clutter and expired items
Clear the main counters, recycle empty packaging, and review obvious expired or spoiled food. Do not empty every cabinet. The goal is to create workspace before cleaning begins.
Stage 2: clean high surfaces first
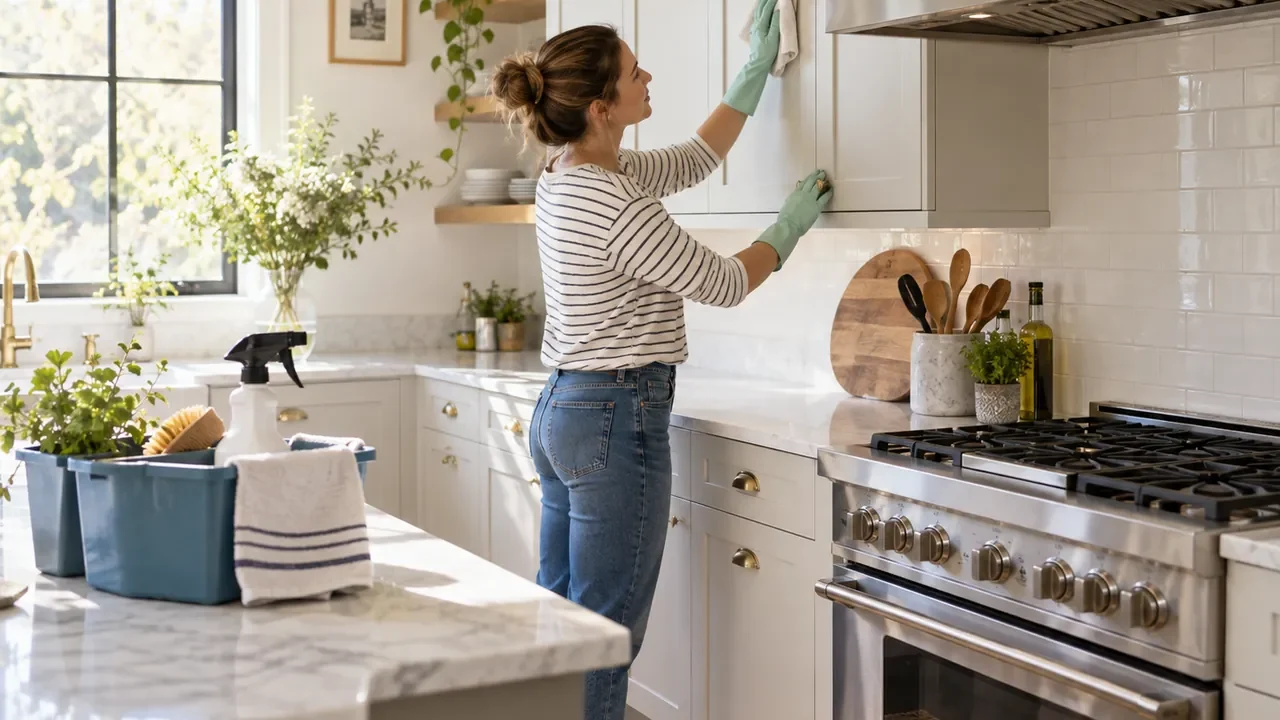
Dust the tops of cabinets, refrigerator surfaces, light fixtures that are safely accessible, and other upper areas before cleaning the counters and floor. This keeps falling dust from undoing later work.
Stage 3: degrease around the cooking zone
Let the range and oven cool completely. Clean the backsplash, hood exterior, control area, and nearby cabinet fronts using methods approved for the materials. Avoid spraying liquid directly into controls or ventilation openings.
Stage 4: reset one cabinet at a time
Choose a single cabinet or drawer, remove the contents, wipe the interior, discard unnecessary items, and return the rest before opening the next space. This prevents the kitchen from becoming covered with piles.
Stage 5: clean the refrigerator in sections
Discard spoiled food, wipe one shelf or drawer at a time, and return cold items promptly. Follow the appliance instructions for removable parts and avoid forcing cold plastic components.
Stage 6: clean the sink and faucet area
Remove food debris, clean the basin with a compatible product, wipe the faucet and base, and inspect under the sink for moisture. Avoid pouring grease, harsh mixtures, or inappropriate materials down the drain.
Stage 7: maintain small appliances
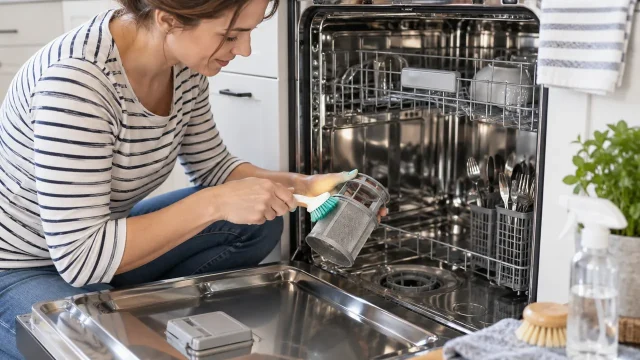
Unplug appliances when appropriate and follow their manuals. Wipe exterior controls, empty crumbs or removable trays, and clean parts that are designed to be washed. Keep moisture away from electrical openings.
Stage 8: finish with floors
Vacuum or sweep crumbs from edges, under accessible movable items, and around toe kicks. Mop using the method recommended for the flooring material, then let the floor dry before replacing mats.
Quick checklist
- Clear working surfaces before deep cleaning.
- Clean from higher areas downward.
- Complete one cabinet or appliance zone before opening another.
- Use surface-specific products and avoid spraying controls directly.
- Check under the sink and around plumbed appliances for moisture.
- Clean floors last.
Common questions
How often does a kitchen need a deep clean?
There is no universal schedule. Homes that cook often may need some zones more frequently, while other tasks can be rotated monthly or seasonally. Regular small maintenance reduces the need for major deep-clean sessions.
Should the oven self-clean cycle be used every time?
Follow the oven manufacturer’s instructions. Self-clean features vary, and some situations may call for a different cleaning method. Ensure appropriate ventilation and remove items the manual says should not remain inside.
Keep moisture and product compatibility in mind
Kitchens and bathrooms combine water, cleaners, food-contact surfaces, finishes, appliances, and plumbing in a small area. Dry standing water promptly, keep ventilation paths open, and choose products that are compatible with the exact surface. Never mix cleaning chemicals, and keep liquids away from electrical controls and openings.
If moisture repeatedly returns under a cabinet, around an appliance, or behind a seal, treat it as a maintenance issue rather than a cleaning problem. Finding the source early is more useful than repeatedly drying or covering the same spot.
Bottom line
A kitchen deep clean is easier when it is a sequence rather than a single event. Clear the work area, clean top to bottom, finish one storage zone before opening another, and save the floor for last. The result is a cleaner kitchen without losing the room for an entire day.