A dishwasher that suddenly leaves grit on glasses or food on plates does not always need a major repair. Many performance problems begin with routine issues such as a dirty filter, blocked spray-arm holes, crowded loading, or residue around the door gasket.
Every model is different, so your owner’s manual should always override generic advice. The routine below focuses on the accessible areas most homeowners can inspect without disassembling the machine.
Start by checking whether your dishwasher has a removable filter
Some dishwashers use a removable filter at the bottom of the tub. Others use a different filtration or grinding design. Do not force a part because it looks removable. Confirm the maintenance instructions for your model first.
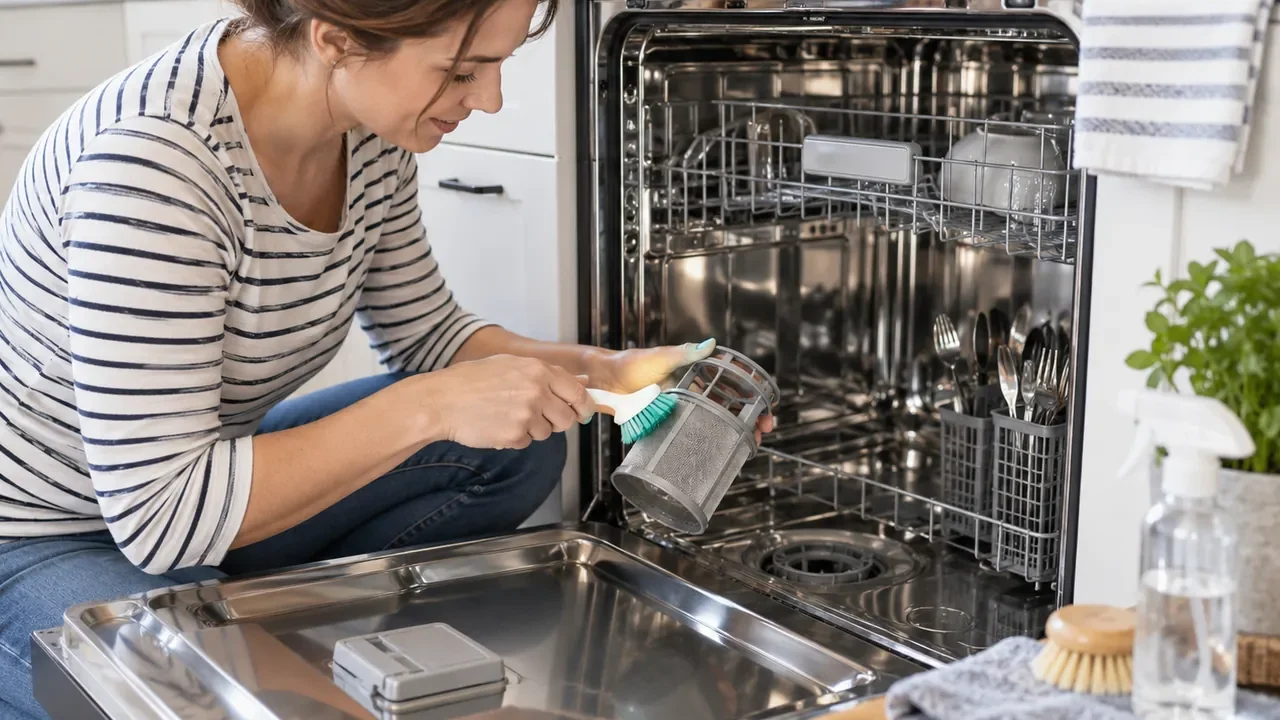
If the filter is designed to come out, remove it as directed, rinse away loose debris, and use a soft brush if the manual permits. Reinstall it correctly before running another load.
Inspect the area under the lower rack
Pull out the lower rack and look for labels, broken glass, food scraps, or other objects that may have fallen into the bottom area. Sharp fragments can be difficult to see, so protect your hands and do not reach blindly into openings.
Keep foreign objects away from pumps, covers, and moving components. If something is trapped in an inaccessible area, service may be safer than forcing it.
Look at the spray arms
Spray arms need to rotate freely and their openings need to stay reasonably clear. Check for a utensil, tall pan, or rack item that blocks rotation. If the manual allows spray-arm removal, follow its cleaning procedure rather than enlarging holes with a sharp tool.
Wipe the door gasket and edge
The dishwasher door edge may not receive the same washing action as the main tub. Wipe the gasket and surrounding rim with a soft cloth and a compatible mild cleaner. Remove trapped food residue carefully without stretching or damaging the seal.
If the gasket is split, loose, or repeatedly leaking, cleaning alone will not solve the problem.
Use the right amount of detergent
Too little detergent may leave poor cleaning results, while too much can contribute to residue in some conditions. Water hardness, detergent type, load size, and machine design all matter. Use the appliance and detergent guidance rather than guessing based on how dirty a load looks.
Load for water movement, not maximum capacity
A dishwasher works by moving water around the load. Large pans can shield smaller dishes, utensils can nest together, and tall items can block spray arms. A slightly less crowded load often cleans better than squeezing in one more pan.
Place items according to the rack design and keep lightweight pieces secure so they cannot fall onto heating or moving components.
Scrape dishes, but do not treat the sink as a pre-wash station
Remove bones, peels, large food scraps, and thick residue before loading. Whether dishes need more pre-rinsing depends on the machine, detergent, water conditions, and how long the load sits. Many modern machines are designed to handle normal food soil, so follow the manufacturer’s recommendations.
Run a cleaning cycle only with compatible products
If your manual recommends a dishwasher-cleaning product or cleaning cycle, use it at the suggested interval. Do not combine household chemicals or improvise with multiple cleaners. Certain materials and seals can be damaged by products that seem harmless elsewhere in the kitchen.
Check for odor at the source
A persistent odor often points to trapped food, a dirty filter, standing water, or drainage issues. Clean the accessible food-catching areas first. If water remains in the tub, the machine does not drain correctly, or the smell returns immediately, investigate the drainage problem rather than masking it with fragrance.
Watch for leaks and unusual sounds
Water on the floor, repeated error codes, burning smells, grinding sounds, or electrical symptoms are not routine cleaning issues. Stop using the machine when appropriate and arrange qualified service. A maintenance routine should help you spot these changes early, not encourage you to dismantle a complex appliance.
A practical schedule
After each load, remove obvious food scraps and check that nothing has fallen through the rack. Every few weeks, inspect the filter area, spray arms, and gasket. At the interval recommended by the manufacturer, perform any deeper cleaning the manual calls for.
The biggest improvement often comes from combining maintenance with better loading. Clean water paths, a clear spray pattern, and enough space around dishes give the machine the best chance to do its job.