Bathroom caulk and grout sit in some of the hardest-working parts of the home. They are exposed to water, soap, body-care products, and long periods of humidity, so a routine that focuses on drying and gentle cleaning is usually more effective than waiting for heavy buildup.
Grout and caulk are different materials and may need different products. Always check the cleaner and surface instructions, especially around natural stone, colored grout, specialty tile, and silicone sealants.
Remove standing water after showers
A quick squeegee or wipe on walls and ledges reduces the amount of water that must evaporate. Focus on horizontal joints, corners, and shelves where moisture can sit for a long time.
Run the exhaust fan long enough
Use the bathroom exhaust fan during showers and for a period afterward when practical. Keep the grille free of dust and make sure the fan is actually moving air. Persistent condensation may indicate that the room needs better ventilation.
Keep bottles and mats from trapping moisture
Rows of bottles, bath mats, and accessories can hold water against grout or caulk. Let mats dry, periodically move containers, and clean the surfaces underneath so damp areas are not hidden.
Use a compatible routine cleaner
A mild cleaner used regularly can be easier on surfaces than aggressive scrubbing after months of buildup. Avoid mixing cleaning chemicals and follow label directions for ventilation, contact time, and rinsing.
Use the right brush pressure
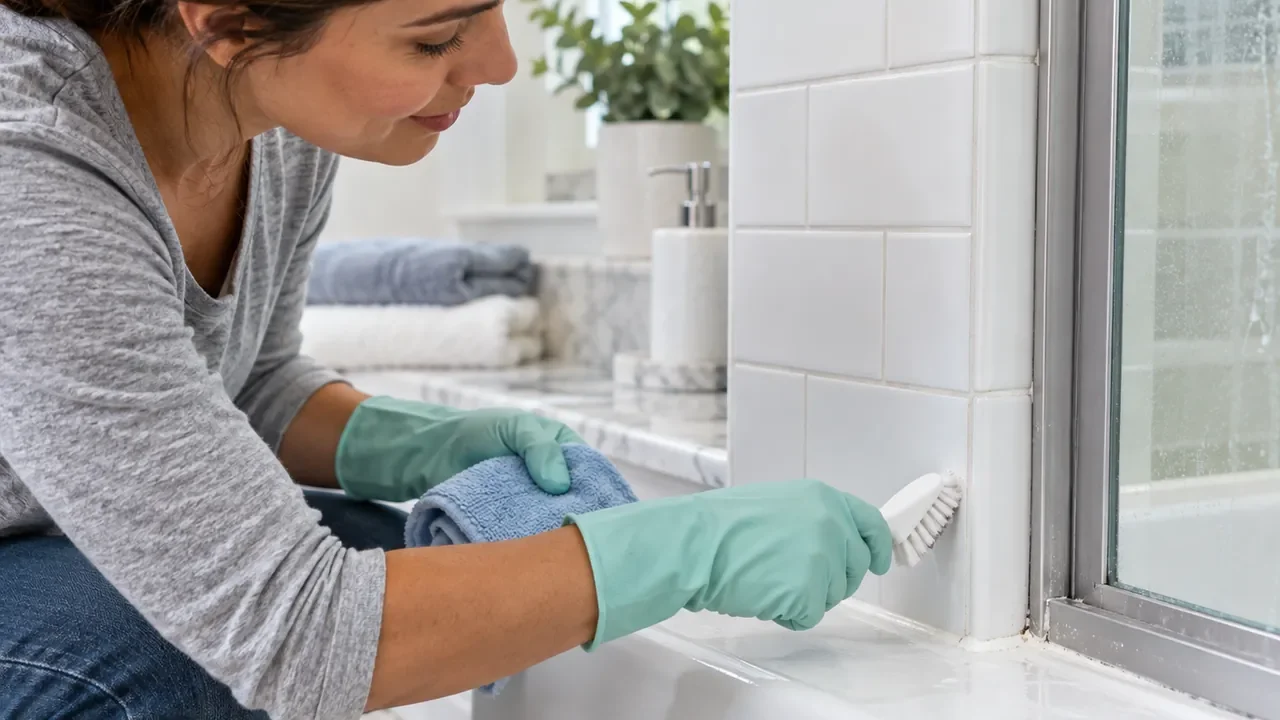
A soft or medium brush may be enough for textured grout. Excessively stiff tools and abrasive products can damage some surfaces or wear away sealers. Test an inconspicuous area first when you are unsure.
Watch for separation and gaps
Caulk that has pulled away, split, or developed gaps is no longer just a cosmetic issue. Water may reach areas the joint was intended to protect. Remove and replace failed material with an appropriate product after the area is dry and the cause is understood.
Do not repeatedly cover stained failed caulk
If caulk is deeply discolored, loose, or no longer bonded, cleaning alone may not restore it. Applying new material over a failing joint can trap residue and produce a poor seal.
Treat recurring discoloration as a moisture clue
If staining returns quickly after cleaning, focus on how long the room stays wet. Better drying, ventilation, fixing leaks, and keeping surfaces open to air may help more than stronger cleaner.
Quick checklist
- Squeegee or wipe wet shower surfaces after use.
- Run and maintain the exhaust fan.
- Move bottles and mats so hidden surfaces can dry.
- Use cleaners compatible with tile, grout, stone, and caulk.
- Replace cracked or separated caulk instead of covering it.
- Investigate leaks or persistent moisture if staining keeps returning.
Common questions
Should grout be sealed?
Some grout and tile systems benefit from sealing while others do not require the same treatment. Follow the grout, tile, and sealer manufacturer guidance for your specific installation.
Can I use bleach on bathroom caulk and grout?
That depends on the surface, product, ventilation, and manufacturer guidance. Never mix bleach with other cleaners, and do not assume it is safe for every tile, grout, stone, or sealant.
Keep moisture and product compatibility in mind
Kitchens and bathrooms combine water, cleaners, food-contact surfaces, finishes, appliances, and plumbing in a small area. Dry standing water promptly, keep ventilation paths open, and choose products that are compatible with the exact surface. Never mix cleaning chemicals, and keep liquids away from electrical controls and openings.
If moisture repeatedly returns under a cabinet, around an appliance, or behind a seal, treat it as a maintenance issue rather than a cleaning problem. Finding the source early is more useful than repeatedly drying or covering the same spot.
Bottom line
Cleaner-looking caulk and grout start with moisture control. Dry the shower, ventilate the room, clean gently and regularly, and repair failed joints before water gets behind them. Stronger chemicals are not a substitute for a bathroom that can dry properly between uses.